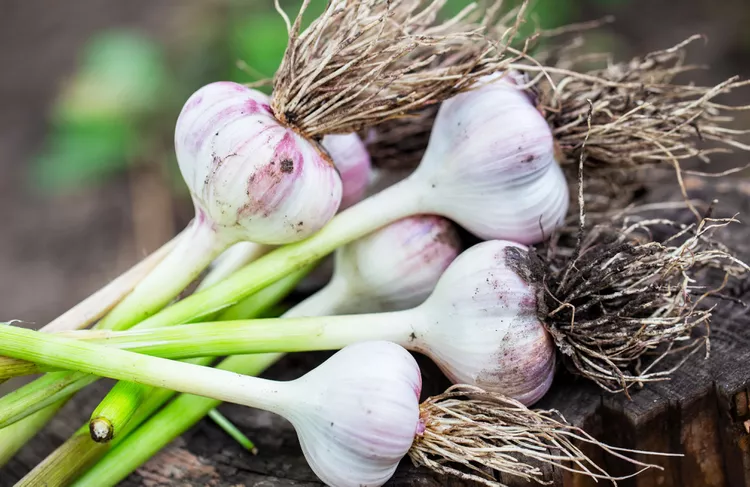
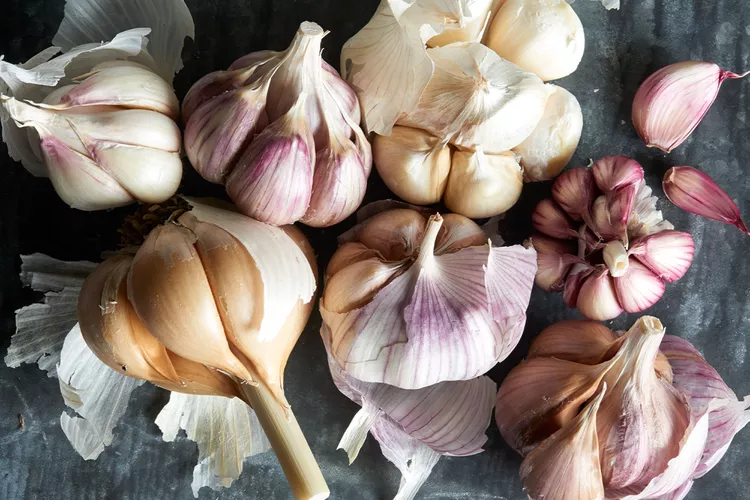
Garlic bulbs are typically harvested in summer when the plant’s leaves start to yellow and dry out. Unless you intend to freeze, can, or use the garlic in recipes immediately, fresh garlic must be cured before storing it in the pantry or root cellar. Whether you grow softneck or hardneck plants, here’s how to cure garlic after harvesting the bulbs to keep them fresh and tasty for many months.
Quick Garlic Harvesting Tips
Knowing exactly when and how to harvest garlic is key if you want your garlic bulbs to last in storage. Keep these basic guidelines in mind when pulling up your garlic crop to ensure the bulbs are completely ripe and damage-free.
- Garlic is usually harvested from June through August, when the plant’s leaves dry out and turn yellow or brown.
- Stop watering about two to three weeks before you intend to harvest the garlic. Keeping the soil dry makes harvesting easier, and it helps the bulbs dry and cure faster.
- Use a garden fork or shovel to loosen the soil and gently lift the garlic bulbs from the earth. Garlic cures better with the leaves attached, so don’t pull roughly on the leaves if you can avoid it.
- Don’t expose freshly harvested garlic to bright, hot sun. The tender bulbs can be sunburned.
- Only unblemished and damage-free garlic bulbs will last in storage. If any of your garlic harvest has damaged cloves or other issues, eat them right away.
How to Cure Hardneck Garlic Bulbs
Hardneck garlic has tougher stems than softneck garlic, so it’s not as good for braiding. However, as long as they are cured and dried correctly, hardneck harvests can last for months in winter storage.
Step 1: Remove the Soil
Leave the leaves and roots attached to hardneck garlic when harvesting it. After you pull up the bulbs, brush away any excess soil with your fingers or a soft brush, but don’t wash the bulbs in water or remove the papery skins. Too much moisture speeds up decay.
Step 2: Dry the Bulbs
You can cure hardneck garlic with hang drying, but many growers dry hardneck garlic on drying racks or a DIY drying screen made with a wooden frame, hardware cloth, and some staples. To dry garlic on screens, keep the leaves attached to the bulbs and spread the garlic in a single layer so the bulbs aren’t touching. Place the screens or drying racks in a dark, warm, and dry spot with good airflow and allow the bulbs to dry for two to four weeks.
Step 3: Tidy the Harvest
You’ll know the hardneck garlic is dry and fully cured when the garlic skins are papery, the roots are bristly and hard, and the garlic leaves have turned brown and brittle. Trim back the roots and leaves with scissors so an inch or two of leaves are attached to the bulbs, brush away any remaining soil on the garlic bulbs, and then store your hardneck garlic in mesh bags in a dry, dark spot. If the bulbs are dirty, you can peel off some of the papery garlic skins before storing them but don’t remove so many skins that the garlic cloves are exposed.
How to Cure Softneck Garlic Bulbs
Softneck garlic is the garlic to grow if you want to make garlic braids. Even if you don’t plan to braid your garlic, these steps help you cure and dry your softneck harvest so it lasts as long as possible in storage.
Step 1: Remove the Soil
Keep the leaves, roots, and papery skins attached to the softneck garlic bulbs. After harvesting the bulbs, brush away as much soil as possible with your fingers or a soft brush, but don’t wash the bulbs in water.
Step 2: Dry the Bulbs
Softneck garlic can be cured on mesh screens or a drying rack, but it’s even easier to cure with hang drying. To hang dry garlic, bundle eight to 10 garlic plants together and loosely tie them near the bulbs with a bit of twine. Hang the softneck garlic bundles—bulbs facing up—in a warm, dry, dark spot with good airflow, and allow them to dry for two to four weeks.
Step 3: Tidy the Harvest
When the garlic is fully cured with papery skins and brittle, brown leaves, brush away any excess soil with your fingers and clip back the bristly roots. Depending on your storage space, you can also cut back the garlic leaves and store softneck garlic in mesh bags or keep the leaves intact and make DIY softneck garlic braids.
Step 4: Create Softneck Garlic Braids (Optional)
To start, place three garlic bulbs together so they touch and their leaves overlap—just like the beginning of a hair braid. Tie the stems together with a bit of twine close to the bulbs.
Add a fourth garlic bulb just below the initial three bulbs so that its bulb is in the center and its stem and leaves are nestled on top of the other garlic stems. Gently wrap the rightmost garlic stem over the other stems, and then add a fifth garlic bulb to the right of the bulb you just added. Cross the leftmost garlic stem over the other garlic stems, add another bulb to the left of the bulb cluster, and wrap the rightmost stem over.
Continue this process by adding more bulbs to the center, right, and left and alternating the stem, wrapping from left to right to create a braid. When all the garlic bulbs have been added, continue braiding the leaves until you reach the leaf ends. Use twine to tie off the leafy braid, and hang the softneck garlic braid in a dry spot that’s out of direct light.
