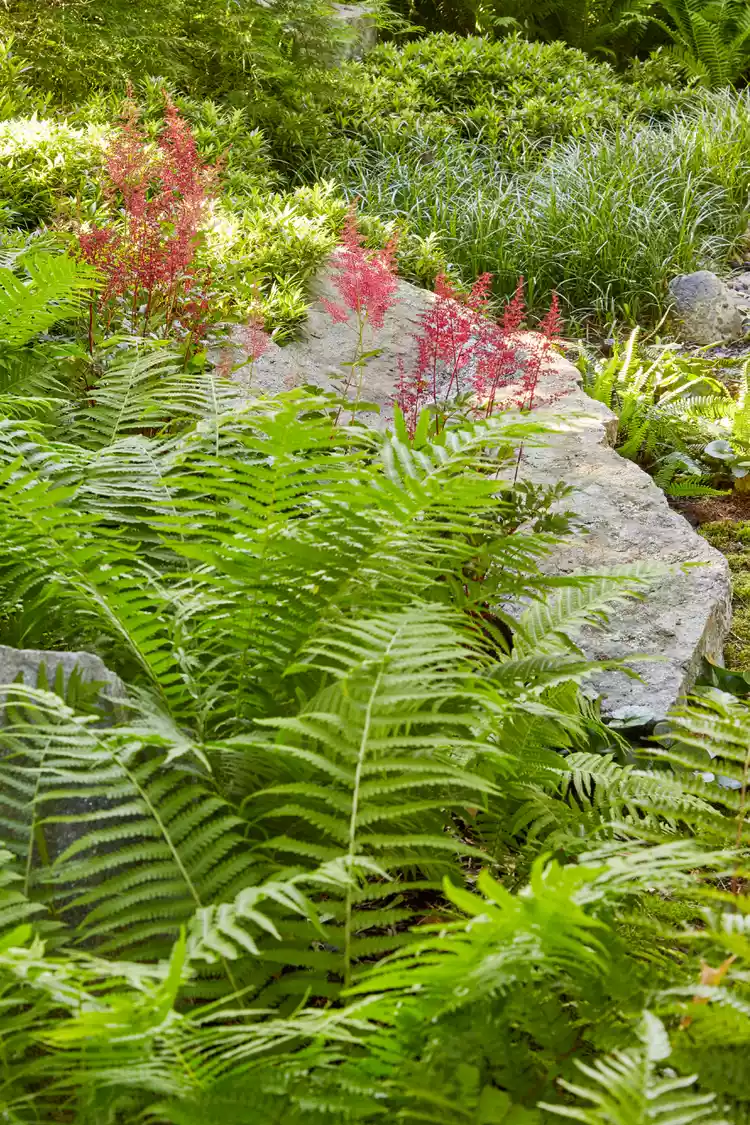
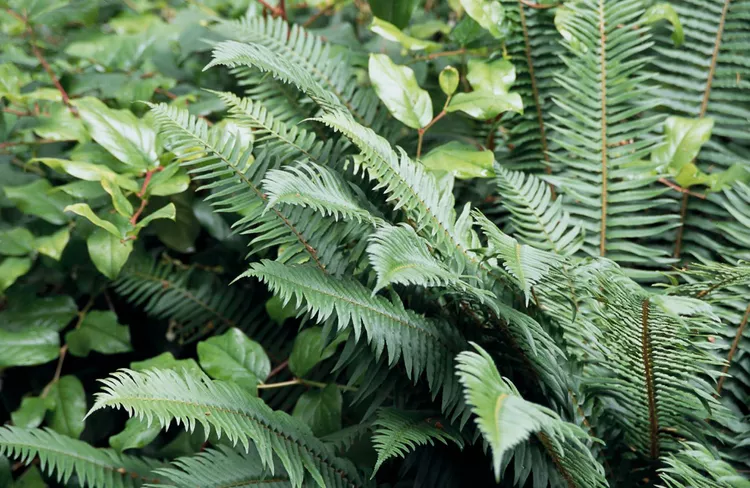
Ferns have a reputation for being difficult to grow and requiring extra care for their long-term survival, but lady ferns (Anthyrium filix-femina spp.) are an exception and deserve greater use where they are hardy. With their feathery fronds, bright green color, and a multitude of varieties available, lady ferns provide the shade garden look without all the effort and exacting conditions.
Native to North America, lady ferns can be found throughout much of the cooler, northern regions of the continent, where they form slowly expanding colonies and typically grow between 1 and 5 feet tall. While they require ample moisture, they’re excellent starter ferns for those looking to bring ferns into their landscape.
This guide covers basic care, propagation techniques, and common issues you might encounter in your own garden when growing lady ferns.
Lady Fern Overview
| Genus Name | Athyrium filix-femina |
| Common Name | Lady Fern |
| Plant Type | Perennial |
| Light | Part Sun, Shade |
| Height | 1 to 5 feet |
| Width | 1 to 2 feet |
| Foliage Color | Blue/Green |
| Zones | 4, 5, 6, 7, 8, 9 |
| Propagation | Division |
Where to Plant Lady Ferns
Unlike many plants, lady ferns are tolerant of shade. Plant lady ferns in USDA Plant Hardiness Zones 4-9 in moist, loamy, well-draining soil. Place your plants where they'll have some protection from the most intense sun and wind, which can leave fronds tattered.
How and When to Plant Lady Ferns
For best results, plant lady ferns in late spring. When planting nursery-grown lady ferns, dig a hole twice as wide and the same depth as the fern's rootball. Remove the fern from the container, being careful not to damage or disturb the roots. Place it in the hole at the same depth it was growing in the container and backfill the hole with soil. When planting multiple ferns, space them 2 feet apart. Water well.
The process is similar when planting bare-root lady ferns, except soaking the roots for two hours before planting is an essential first step. Position the bare-root plant in the hole so the crown is located a half-inch below the soil surface. Cover with soil and water well.
Lady Fern Care Tips
Light
Lady ferns prefer bright, indirect light but can grow in part sun to deep shade. A location under the dappled light of a shade tree with morning sun is ideal.
Soil and Water
Like most ferns, lady ferns prefer loamy, well-drained soils with plenty of moisture and decomposing organic matter. Keep plants watered throughout the growing season to avoid premature dieback in summer heat.
Temperature and Humidity
Lady ferns prefer cool climates with plenty of protection from strong sun, and they and relish high humidity. Plants grown in Zone 9 may experience early summer dieback due to heat, even in humid locations.
Fertilizer
While ferns respond well to fertilizer, they do not require heavy amounts to thrive. Use an organic liquid foliar fertilizer, following the product instructions, every three weeks during the growing season.
Pruning
Aside from removing broken fronds, lady ferns do not require pruning.
Pests and Problems
Lady ferns are typically pest-free plants that require minimal maintenance once established. However, intense sun, low humidity, and dry soil can lead to less-than-ideal growth and premature dormancy by midsummer.
How to Propagate Lady Ferns
Lady ferns can be propagated by spores or division, with division being the quickest and easiest method.
Spores: Prepare a plastic pot about three-quarters full with thoroughly moistened potting soil. Identify fertile fronds on the lady fern. Spores appear on the underside of fronds on mature plants and have a rusty, dustlike appearance. Using a white piece of paper to catch spores, gently tap on the fronds to dislodge the spores. Be careful, as the spores are very light and can easily blow away.
Gently and evenly shake the spores onto the prepared potting soil and let them settle. Cover the pot with a piece of plastic wrap, place it in a shallow water dish to maintain moisture, and move it to a bright, warm location.
In one to six months, small green masses will appear on the soil surface. After three to five true leaves appear, remove the plantlets and relocate them to their own pots or a protected location outdoors.
Division: To propagate lady ferns by division, locate a healthy, mature plant that has multiple growth points. Gently remove the plant from the soil and locate the individual growth points. Using a soil knife or another sharp tool, cut through the root ball between the growth points so that each division includes both fronds and roots. Replant each division in its own pot or a prepared garden bed immediately.
Types of Lady Ferns
Dwarf Lady Fern
Growing between 6-12 inches tall, dwarf lady fern (Athyrium filix-femina 'Minutissimum') stays shorter than the species but otherwise looks similar. Zones 4-8
Victoria Lady Fern
The fronds of Victoria lady fern (Athyrium filix-femina 'Victoriae') have an interesting crisscross look, thanks to the narrow pinnae with crested ends. The fern grows to 2 feet tall and wide. Zones 4-8
'Lady in Red' Lady Fern
Athyrium filix-femina var. angustum 'Lady in Red' has dark red stipes (stems) on plants that grow to about 30 inches tall and wide. Zones 4-8
Lady Fern Companion Plants
Lady ferns do well with other shade-loving, hardy ferns, hostas, temperate orchids, wild gingers, heucheras, and many others. Avoid planting lady ferns with overly large, sprawling plants that might overtake them or block their view.
Garden Plan for Lady Fern
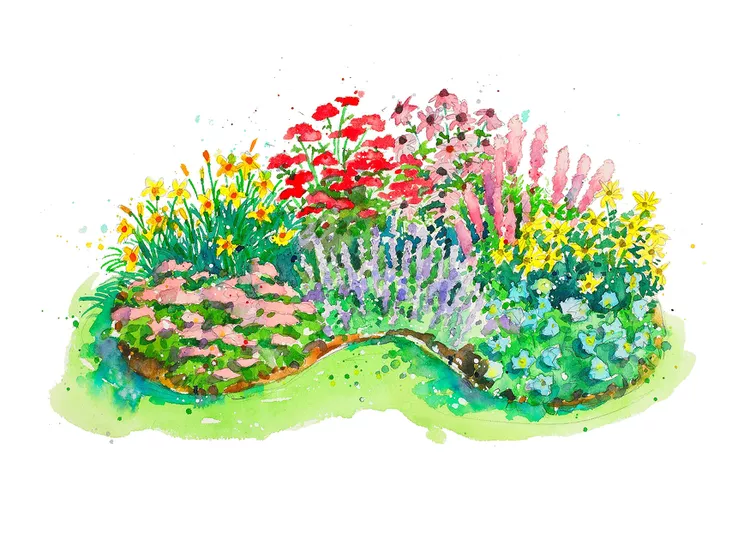
Lush Woodland Small Garden Plan
If you have a wooded area in your yard, or even just a tree or two, you have the perfect place to install this lush woodland garden plan. It layers together a selection of soft-textured, shade-loving plants, including three species of native ferns, to create a naturalistic bed of blooms and foliage.
