- Working Time: 30 minutes
- Total Time: 1 hour
- Skill Level: Beginner
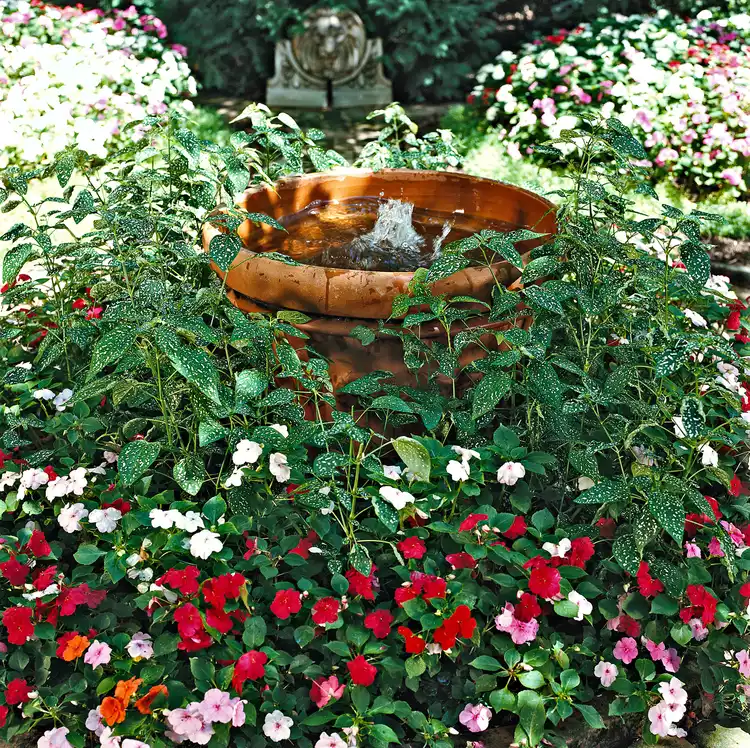
For this project, use any type of pot (we think terra-cotta is a classic look). If the container doesn't have a drainage hole in the bottom, drill one with a masonry bit or drape the pump's electrical cord over the rim. Disguise the cord by guiding a few stems of one of the surrounding plants along the rim. Set the freestanding fountain in a garden bed or border that has an electrical outlet nearby.
What You'll Need
Equipment / Tools
- Paint scraper
- Paintbrush
Materials
- Container, 24 inches across or larger
- Pump and fountain
- Premixed quick-dry cement
- Liquid water sealant
- Bricks
- Outlet with ground fault circuit interrupter
Instructions
-
Place Pump in Container
Set a submersible pump in the bottom of the container. Using a pot that is at least 24 inches in diameter makes a splash and requires less water refilling than a smaller pot. Pull the pump electrical cord through the drainage hole of the pot.
-
Close Drainage Hole
Pull out enough cord to be able to connect to the outlet—don't plug it in—and leave sufficient slack to raise the pump in the pot. Close the drainage hole with premixed, quick-drying cement. Let the cement dry thoroughly; follow directions on the package.
-
Seal Container
Seal the inside of the pot with a liquid water sealant that is labeled for use on wood. This applies whether the pot is terra-cotta, wood, or some other porous material. Let the sealant dry completely.
-
Elevate Pump
Elevate the pump in the center of the container. Place it on bricks to bring it a few inches below where the water's surface will be. Fill the pot with water and connect the pump to the GFCI outlet. Be sure the water level does not dip below the pump. To add a personal touch to this classic fountain, choose a colored glazed pot, or add in pretty stones or glass globes to the inside of the pot before filling with water.
